 Bellingham Siding
 New-Construction Windows for South Hill Homes
South Hill sits above downtown Bellingham with views out over the bay, a mix of century-old houses and newer infill construction, and enough tree cover on the shadier lots to keep moss growing nearly year-round. When a home is being built from the ground up, or when an addition is going in, the windows aren't just a product you order and drop into a finished wall — they're one half of the water-management system for the whole building envelope. Get that half wrong and the siding, sheathing, and framing around it pay for it years later.
New-construction window work is a different trade skill than swapping out an old window in an existing wall. It happens in the middle of the build sequence, tied directly to the weather-resistive barrier, the flashing plan, and the siding that will eventually cover it. We install new-construction windows for builders, remodelers, and homeowners working on South Hill projects, and we coordinate directly with framers and siding crews so the envelope goes together in the right order, correctly, the first time.
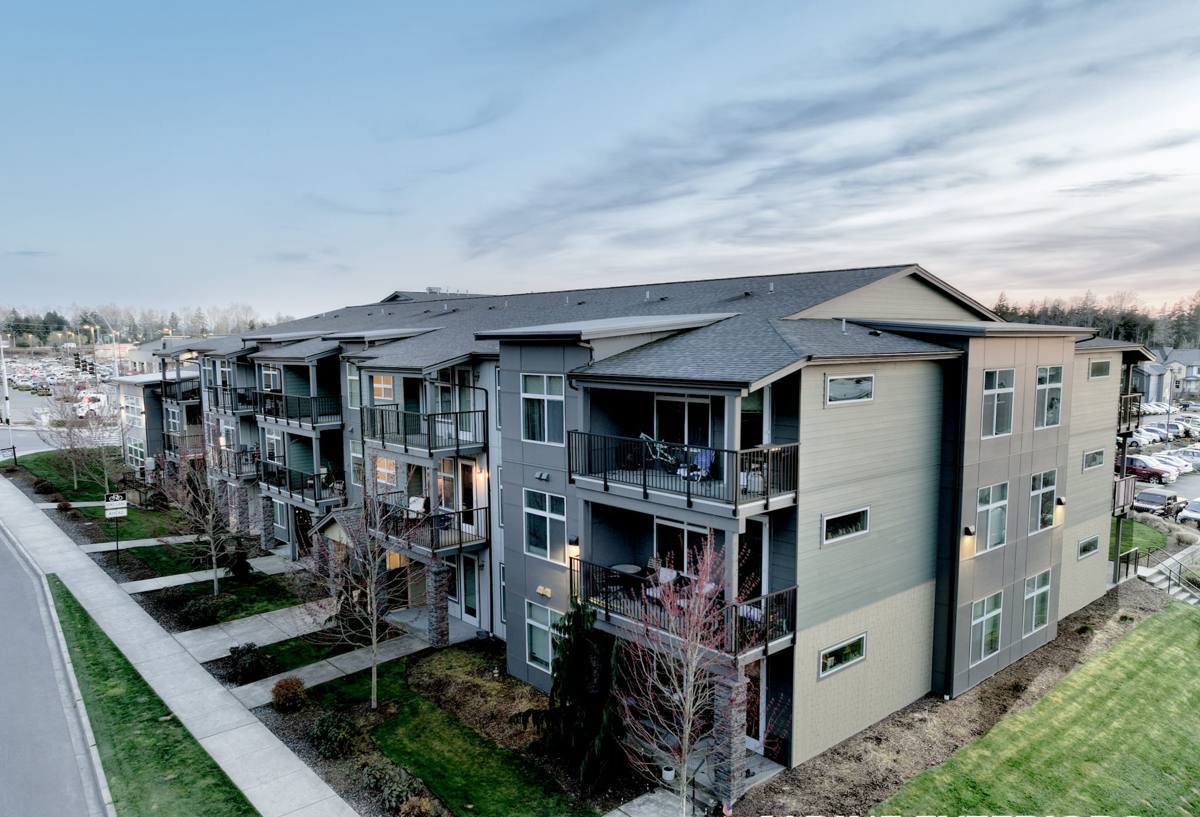
Why South Hill's Climate Makes Installation Sequence Matter
Bellingham and the rest of Whatcom County get a long, wet fall-through-spring stretch, and South Hill's elevation and bay exposure add a few complications of its own: salt-laden air off the water, driving rain that hits some elevations and orientations harder than flatter parts of town, and shaded, damp yards where moss and algae take hold on any surface that stays wet too long. None of that is unique to South Hill, but a hillside site with mixed sun exposure tends to show the effects of a poor window install faster than a drier climate would — moisture that gets behind a window opening has nowhere good to go, and it doesn't take long for it to find framing lumber.
That's the real argument for doing new-construction windows correctly rather than quickly: on a house that's going to sit through 30-plus South Hill winters, the flashing details around each window opening are what decide whether that wall stays dry.
What This Means On-Site
- Window openings need to be fully sealed and flashed before any extended exposure to weather, not left open for days during a wet stretch.
- Sill pans and drainage paths matter more on shaded, moss-prone lots where surfaces don't dry out quickly between rains.
- Salt air accelerates wear on unprotected metal fasteners and trim — material choices at the window opening should account for that, not just the window unit itself.
What a Correct New-Construction Window Installation Involves
New-construction windows are set into a "rough opening" in the framing before or during the siding phase, typically using a nailing flange (also called a nail fin) that gets integrated into the wall's weather-resistive barrier (WRB). The goal is a continuous drainage plane: water that gets past the siding has to be directed out and away from the wall, not trapped behind the window.
The sequence we follow
- Rough opening check. Confirm the opening is square, level, and sized correctly for the window unit before it ever goes in.
- Sill pan flashing. A sloped, sealed pan at the bottom of the opening so any water that gets in has a path back out, rather than sitting on the sill.
- Window-specific flashing tape. Applied at the jambs and head in a shingle-lap sequence — bottom first, then sides, then top — so water always flows over the layer below it, never under.
- Setting the window. Shimmed, leveled, and fastened per the manufacturer's instructions, which is what keeps the warranty intact if something ever needs a claim.
- Integration with the WRB. The house wrap or building paper laps over the top flashing and tucks behind the side flashing, so the whole assembly drains as one system rather than a window sitting inside a separate wrap.
- Interior and exterior sealant. Backer rod and sealant where appropriate, air-sealed on the interior side, weeped on the exterior — sealing both sides solid actually traps moisture rather than keeping it out.
Every one of those steps is inspectable, and on a South Hill build we expect a framing or WRB inspection to look at exactly this work before siding covers it up.
Choosing a Window Frame Material for a Coastal, Wet Climate
The window unit itself matters less than the installation around it, but frame material does affect long-term maintenance in salt air and a long moss season. Here's how the common options generally compare for a South Hill build:
| Frame Material | Maintenance in This Climate | Typical Cost Position | Notes |
|---|---|---|---|
| Vinyl | Low — won't rust or rot, occasional cleaning | Lowest | Good value; color and size options vary by manufacturer |
| Fiberglass | Low — very stable in temperature swings, resists warping | Mid to upper | Strong option for larger openings or darker exterior colors |
| Wood-clad (wood interior, clad exterior) | Moderate — exterior clad is low-maintenance, interior wood needs normal care | Highest | Preferred where a wood interior look is wanted; cladding protects against exterior moisture |
| Bare wood | Highest — needs regular refinishing to hold up to driving rain and salt air | Varies | We're upfront that this is a harder-maintenance choice on an exposed South Hill lot |
We don't push one brand or material on every job — the right call depends on the home's style, budget, and how exposed the specific lot is to wind and rain off the bay. What we do insist on is a unit with a documented installation instruction sheet and a real manufacturer warranty, because that's what protects the homeowner if a component ever fails.
Energy Code and Efficiency Considerations
Washington's state energy code sets minimum performance requirements for new-construction windows — U-factor (how well the window resists heat loss) and, on some elevations, solar heat gain coefficient (SHGC). On a South Hill build, we help select and document window performance so it passes energy code review without over- or under-spending on glass package. Bellingham's mild but persistently damp climate generally favors a solid U-factor over chasing maximum solar gain, since sunny days are the exception rather than the rule for much of the year.
We also pay attention to window placement relative to shading and prevailing rain direction — a window on an exposed west or south face dealing with driving rain benefits from a slightly deeper reveal or added head flashing detail, even when code doesn't require it.
How Our Process Works on a South Hill Job
Working With Builders and Homeowners
Most new-construction window work happens on someone else's schedule — the general contractor's framing timeline. We coordinate directly with the builder or GC so windows arrive and get set at the right point in the sequence, without holding up the WRB or siding crews behind us. On owner-managed additions or custom builds, we walk the homeowner through window selection, rough opening sizing, and flashing plan before ordering anything.
On Installation Day
- We confirm every rough opening before the windows arrive, so there are no surprises on setting day.
- Flashing and sill pans go in per manufacturer instructions, not a generic one-size approach.
- We photograph flashing details before they're covered by WRB or siding, so there's a record of the work if it's ever needed for warranty or resale.
- We check operation — every window opens, closes, and locks correctly before we call the job done.
Mistakes We See on New-Construction Sites
Most water intrusion problems we get called out to fix on newer South Hill homes trace back to a handful of avoidable issues:
- Flashing tape applied out of shingle-lap order, so water gets directed behind the barrier instead of over it.
- No sill pan, leaving the bottom of the opening as the only line of defense.
- Windows sealed solid on both interior and exterior, trapping any moisture that does get in.
- Fasteners or trim that don't hold up to salt air, corroding and staining the siding below within a few years.
- Openings left exposed to a rainy stretch for days before flashing goes on.
None of these are hard to avoid — they just require doing the sequence correctly and not rushing to keep pace with a framing schedule.
A Practical Checklist Before Your Windows Go In
- Confirm window sizes and rough openings match the approved plans before ordering.
- Ask your contractor what flashing tape and sill pan products they use, and why.
- Get manufacturer installation instructions on file for warranty purposes.
- Confirm U-factor and SHGC values meet Washington energy code for your project.
- Ask when the WRB/flashing inspection will happen, and request photos before siding covers the work.
- Discuss frame material trade-offs for your lot's sun and rain exposure before committing.
Why Hire a Crew That Already Works South Hill
South Hill isn't one uniform building site — lot elevation, tree cover, and exposure to wind off the bay vary block to block, and that changes how aggressively a given wall needs to be detailed against moisture. A crew that's already worked this neighborhood knows which lots need extra attention at the flashing stage and which builders and inspectors we're coordinating with locally. That familiarity saves rework, keeps the build schedule moving, and means the envelope is built for the actual conditions on your specific site — not a generic climate assumption.
If you're planning a new build or addition in South Hill and want windows installed correctly the first time, we're happy to walk the plans with you and provide a free, no-pressure estimate — just fill out the form below.