 Bellingham Siding
 Siding Replacement in Columbia: Built for Bellingham's Climate, Not Just the Average Pacific Northwest House
Columbia is one of the older, established residential pockets on Bellingham's north side, close enough to the water that homes here take a different kind of weathering than houses further inland. Salt-laden air off Bellingham Bay, driving rain that comes in sideways during winter storms, and a moss season that can stretch from October through May all combine to put steady pressure on exterior siding. If your home's siding is original from a build in the 1970s, 80s, or 90s, or if it's a vinyl or wood product installed sometime in the last two decades, there's a good chance it's showing the effects of that combination right now, even if the damage isn't obvious from the street.
Siding replacement in Columbia isn't a cosmetic upgrade for most of the homes we look at — it's a functional repair to a building envelope that's been absorbing moisture, hosting moss and algae growth, and in some cases letting water past the surface and into the wall assembly. This page walks through what we see specific to this neighborhood, what correct siding replacement actually involves, and why we've standardized on one product line to do it.
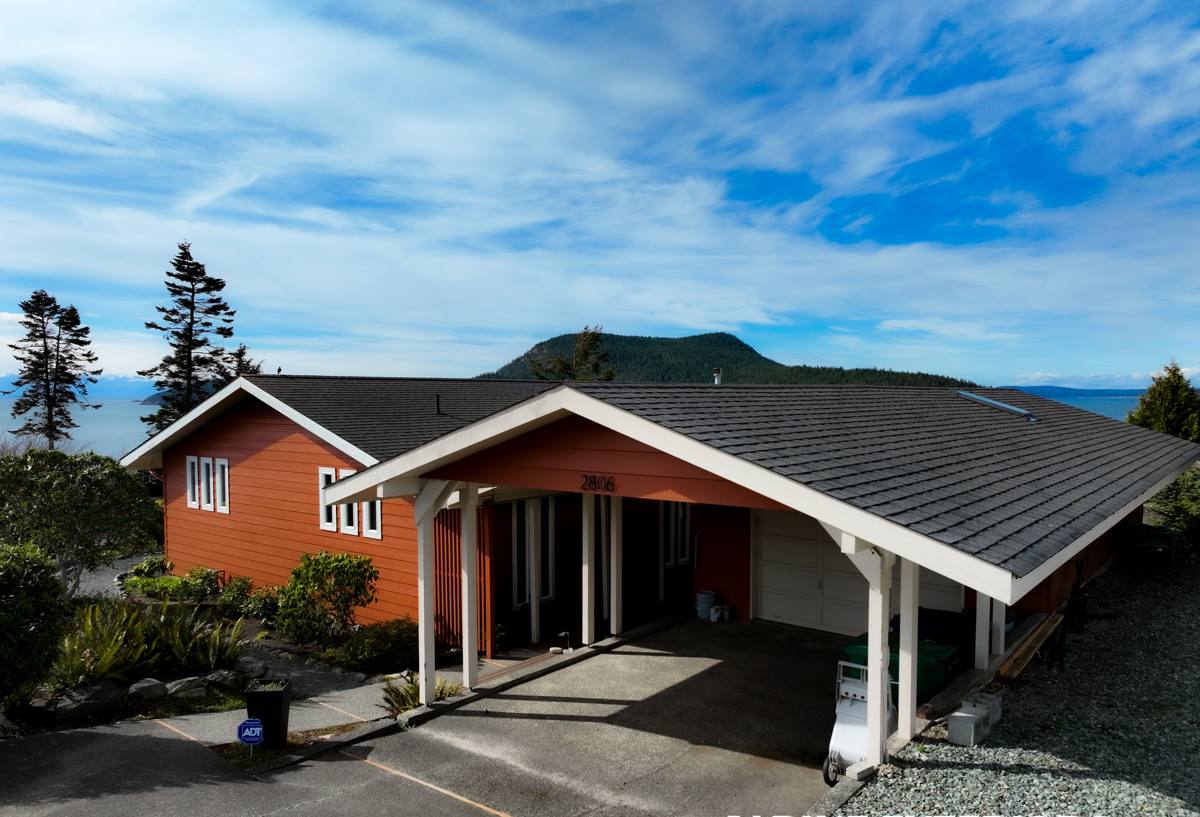
What Salt Air, Rain, and Moss Actually Do to Siding
Each of these three factors stresses siding differently, and Columbia homes get all three at once.
Salt Air
Proximity to Bellingham Bay means airborne salt settles on exterior surfaces year-round. On metal fasteners and trim, this accelerates corrosion. On wood and wood-composite sidings, it draws moisture into the material faster than it would inland, which speeds up rot at seams, corners, and butt joints.
Driving Rain
Bellingham's winter storms frequently come with wind-driven rain rather than straight-down rainfall. That matters because siding systems are designed to shed water moving in one direction — down. Wind-driven rain pushes water sideways and upward into laps, seams, and around penetrations (hose bibs, light fixtures, vents) that a calmer rain pattern would never reach. Older siding installations, especially ones with tight or caulked-shut joints instead of proper drainage gaps, struggle with this kind of exposure.
Moss Season
Whatcom County's damp, shaded conditions for much of the year create ideal moss and algae growth on north- and east-facing walls, especially where trees or neighboring structures block sun and airflow. Moss holds moisture against the siding surface for extended periods. On absorbent materials, that constant dampness is what eventually leads to swelling, delamination, or rot underneath a surface that still looks intact from a few feet away.
Signs Your Columbia Home Needs Siding Replacement
Homeowners in this neighborhood usually notice one or two of these before calling, but there are often more issues underneath once we get a panel off:
- Soft or spongy spots when you press on the siding, especially near the bottom courses or around window trim
- Visible moss or dark green-black staining that comes back within weeks of cleaning
- Paint that's bubbling, peeling, or won't hold for more than a couple of years
- Gaps opening up at seams, corners, or where siding meets trim
- Warping, cupping, or bowing panels, common on older wood or LP-style products
- Visible fastener corrosion — rust streaks running down from nail or screw heads
- Interior signs: musty smell near exterior walls, or drywall staining on a wall that backs up to problem siding
Any one of these on its own might just mean a repair. Several at once, especially combined with the home's age, usually means it's time to look at full replacement rather than patching.
Why We Install Only James Hardie Fiber Cement
We don't install vinyl, LP SmartSide, cedar, primed spruce, or other fiber cement brands like Cemplank or Allura. That's a deliberate standard, not a sales pitch, and it's worth explaining honestly.
Vinyl is affordable and low-maintenance in mild, dry climates, but it's a poor match for a coastal Whatcom County exposure — it expands and contracts significantly with temperature swings, its seams and J-channels give wind-driven rain a path behind the panels, and it doesn't hold up structurally the way fiber cement does over a 30-40 year horizon. Wood and engineered wood products like LP SmartSide can look great initially, but they're organic materials at their core — they need consistent paint maintenance to stay sealed, and once moisture gets past that seal in a climate like ours, rot and swelling follow faster than most homeowners expect. Other fiber cement brands aren't inherently bad products, but James Hardie is the manufacturer that's invested the most in climate-specific engineering (their HZ5 product line is formulated for the Pacific Northwest's moisture and temperature profile), factory-cured ColorPlus finishes that don't rely on field painting to stay protected, and a transferable limited warranty structure that actually means something if you sell the house.
We standardized on one product because installing a system correctly requires deep familiarity with its specific requirements — fastening patterns, clearances, flashing details, joint treatment. Splitting our crew's expertise across five different siding systems means being mediocre at all of them. We chose to be genuinely good at one.
What a Correct James Hardie Installation Involves
The material is only part of the equation. A large share of siding failures we see in Columbia — on any brand — trace back to installation shortcuts, not the product itself. Correct installation includes:
- Weather-resistive barrier installed and lapped correctly behind the siding, not just present but actually integrated with flashing at every penetration
- Proper clearances — Hardie panels need a minimum gap above roofing, decks, and grade to avoid wicking moisture up from below
- Correct fastener spacing and type — corrosion-resistant fasteners driven to the manufacturer's specified pattern, not "close enough"
- Rain screen or drainage gap where conditions call for it, giving any incidental moisture a way to drain and dry instead of sitting against the wall
- Sealed and flashed penetrations at every light fixture, vent, hose bib, and utility line, since these are the exact spots wind-driven rain finds first
- Manufacturer-specified joint treatment at butt seams and corners, which is where the majority of long-term leaks originate on any siding job
Skipping or rushing any one of these doesn't show up as a problem in year one. It shows up in year five or year ten, as moisture damage that's expensive to trace and repair because it's hidden behind finished walls.
Our Process for a Columbia Siding Replacement
1. On-Site Assessment
We walk the full exterior, checking not just the siding surface but trim, flashing, window and door perimeters, and any areas with visible moss, staining, or soft spots. Where we suspect moisture has gotten behind the existing siding, we'll pull a section to look at the sheathing underneath before quoting the job.
2. Tear-Off and Sheathing Check
Old siding comes off, and we inspect the wall sheathing and framing underneath. Any rot or moisture damage found at this stage gets addressed before new siding goes up — covering damaged sheathing with new siding just hides the problem rather than fixing it.
3. Weather Barrier and Flashing
A new weather-resistive barrier goes on, integrated with flashing at every window, door, and penetration. This layer does most of the actual work of keeping wind-driven rain out of the wall assembly — the siding itself is the second line of defense, not the only one.
4. Hardie Panel Installation
Panels, lap siding, or trim go up to manufacturer spec: correct clearances, fastening, and joint treatment throughout.
5. Final Walkthrough
We walk the finished job with the homeowner, checking sightlines, trim details, and touch-ups before calling it complete.
What Affects the Cost of Siding Replacement
Every Columbia home is different, so we don't quote off square footage alone. The table below covers the main factors that move a project's cost up or down.
| Factor | Why It Matters |
|---|---|
| Extent of hidden moisture damage | Rotted sheathing or framing found during tear-off requires repair before new siding goes up |
| Home's architectural complexity | Multiple gables, dormers, and trim details take more labor and material than a simple rectangular elevation |
| Siding profile chosen | Lap siding, shingle-style panels, and vertical board-and-batten carry different material and labor costs |
| Trim and accessory scope | Full trim replacement (fascia, soffits, corner boards) adds cost versus siding-only work |
| Access and site conditions | Steep lots, mature landscaping, or tight setbacks common in older Columbia lots can affect staging and labor time |
| Number of stories | Two-story sections require more scaffolding or lift work than single-story walls |
We give a firm number after the on-site assessment, not a phone estimate, because the hidden-damage factor is genuinely impossible to price accurately without seeing what's underneath the existing siding.
Why It Matters to Hire a Crew That Already Works in Columbia
Siding contractors who work across all of Whatcom County and beyond know general best practices. A crew that regularly works this specific neighborhood knows which orientations catch the worst wind-driven rain, which older homes in the area were built with siding details that don't hold up to today's exposure, and how local permitting and inspection typically goes for exterior work in Bellingham. That familiarity shows up in fewer surprises during the job and a final result that's built for the conditions the house actually faces, not generic conditions.
When vetting any siding contractor here, ask direct questions: Are they licensed and insured in Washington? Do they carry manufacturer certification for the product they're installing? Will they show you the sheathing before covering it back up? A contractor who's confident in their work will answer all three without hesitation.
Maintaining Your New Siding in a Coastal Whatcom County Climate
James Hardie siding is low-maintenance compared to wood or engineered wood, but "low-maintenance" doesn't mean "zero-maintenance" in this climate. A simple annual routine keeps it performing for the long haul:
- Rinse the exterior once or twice a year, focusing on north- and east-facing walls where moss and algae tend to form first
- Check caulking at trim joints and penetrations annually, and re-caulk any areas that have cracked or pulled away
- Keep gutters clear so overflow isn't running down the siding face during heavy storms
- Trim back vegetation that's shading walls or holding moisture against the surface
- Walk the exterior after major windstorms to check for any dislodged trim or fasteners
If you're in Columbia and dealing with siding that's showing its age, we're happy to take a look and give you an honest read on what's going on and what it would take to fix it right. Reach out for a free, no-pressure estimate using the form below.