 Bellingham Siding
 New-Construction Windows for Sunnyland Builds and Additions
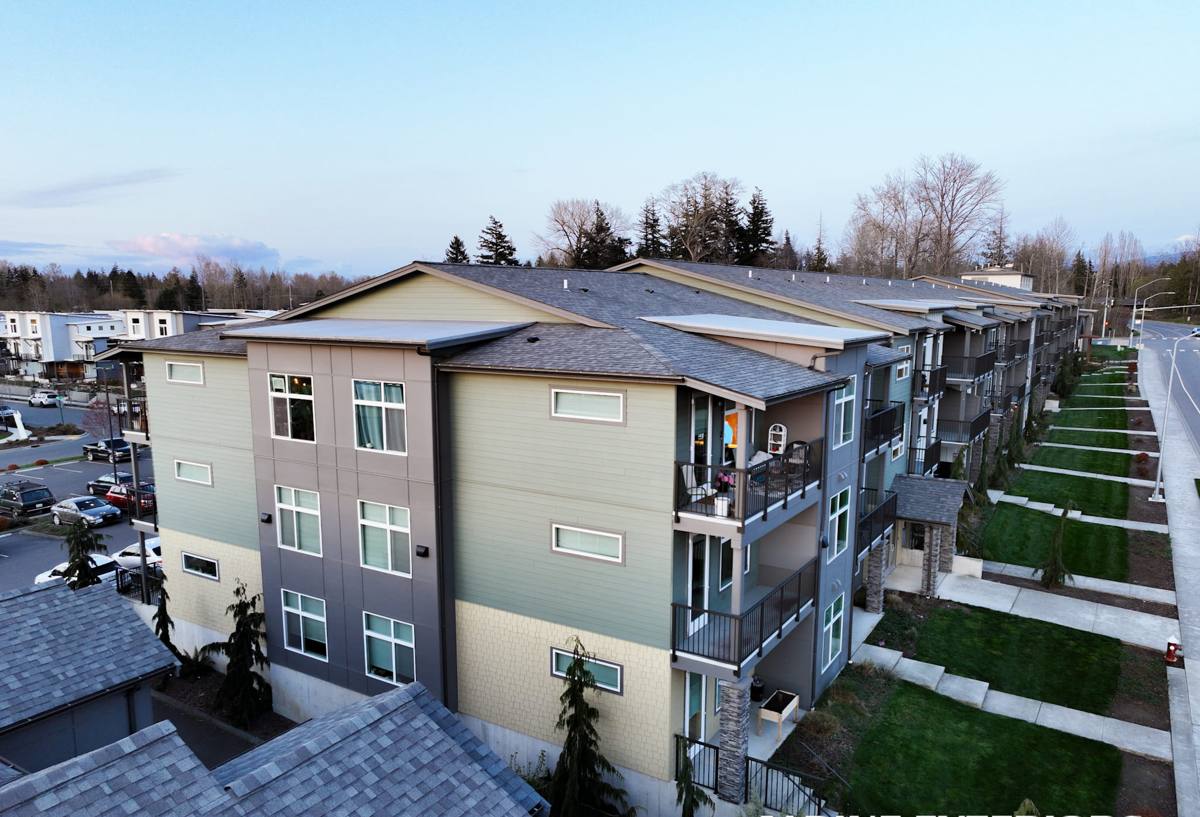
Sunnyland sits close enough to Bellingham Bay and Whatcom Falls that new builds and additions in the neighborhood deal with the same weather that wears on the rest of the city, just with a few local wrinkles: mature tree canopy that keeps roofs and siding damp longer after a storm, older lot layouts being infilled with new construction, and the mix of teardown-rebuilds and ADUs that have become common as the neighborhood fills in. When we install new-construction windows here, we're not retrofitting an existing opening — we're building the water management system for that opening from scratch, at the same time the wall assembly itself is going together. That's a different job than swapping out an old window, and it deserves a different level of attention.
What Bellingham's Climate Demands From a New-Construction Window Install
Whatcom County's marine climate is mild, but it is relentlessly wet for most of the year. That combination — moderate temperatures plus long stretches of moisture — creates specific risks for any window opening that isn't detailed correctly the first time.
Salt Air
Sunnyland isn't waterfront, but Bellingham Bay is close enough that salt-laden air reaches inland neighborhoods, especially during winter storms. Salt air accelerates corrosion on hardware, fasteners, and unprotected metal flashing. On a new build, this means we spec corrosion-resistant fasteners and flashing components rather than whatever is cheapest, because a new-construction window's flashing is buried behind siding and trim — you don't get to inspect or replace it easily once the wall is closed up.
Driving Rain
Storms coming off the Strait and Bellingham Bay routinely drive rain sideways, not straight down. A window opening that only sheds water vertically will let wind-driven rain find its way behind the trim and into the wall cavity. New-construction windows give us the chance to build a proper sloped sill pan and integrate the window flange with the weather-resistive barrier in the correct shingle-lap order — something that's much harder to do well on a retrofit.
Moss Season
Bellingham's wet season runs long, often October through May, and during that stretch anything horizontal or shaded stays damp for days at a time. Moss and algae growth on trim, sills, and siding isn't just cosmetic — sustained moisture against wood trim and OSB sheathing is what eventually leads to rot. Getting the flashing and drainage details right at the framing stage is the single biggest factor in whether a window opening stays dry through years of moss season, long after the finish materials are chosen and forgotten.
New-Construction Windows vs. Replacement Windows: Why the Distinction Matters
Homeowners and even some contractors use "new windows" loosely, but the installation method is fundamentally different depending on whether the wall is open or already finished.
| Factor | New-Construction Window | Replacement (Retrofit) Window |
|---|---|---|
| When it's used | New builds, additions, full wall openings | Existing homes with finished siding/trim intact |
| Flashing method | Nailing fin integrated directly with WRB/house wrap | Works within the existing frame; flashing options are more limited |
| Access to sheathing | Full access to sheathing and rough opening | Sheathing and rough opening are hidden behind existing finishes |
| Best long-term outcome | Highest — water management built in from the studs out | Good, if the original opening was sound and properly detailed |
| Typical use in Sunnyland right now | Infill homes, ADUs, additions | Older Sunnyland bungalows keeping their original framing |
If you're building new or adding on in Sunnyland, you're in the best possible position to get the water management right the first time — take advantage of it.
What a Correct New-Construction Window Install Actually Involves
A window is only as good as the opening it sits in. On new-construction work, the sequence matters as much as the product:
- Rough opening checked square, plumb, and to the correct dimension before the window ever shows up on site
- Sloped sill pan flashing installed so any water that gets past the window sheds outward, not into the wall
- Weather-resistive barrier integrated in proper shingle-lap order — sill first, then jambs, then head, so water always drains over the layer below it
- Window set level, plumb, and square, then fastened per the manufacturer's structural requirements — not just "close enough"
- Nailing fin sealed and flashed with tape or flashing compatible with both the window manufacturer and the WRB — mismatched materials can fail to bond over time
- Head flashing installed with a drip edge so water is directed clear of the opening below
- Interior air sealing with low-expansion foam or backer rod and sealant, so the opening is both weathertight and energy-efficient
- Exterior trim installed with back-priming or flashing at end grain, since raw cut ends are where moisture intrusion usually starts
Skip or rush any one of these steps and the window itself — no matter how good the brand — becomes the weak point in the wall.
Choosing Window Frame Materials for a Bellingham Build
Frame material affects both how the window performs in our climate and how much upkeep it needs. There's no single right answer for every project — it depends on budget, style, and how much maintenance you want to take on.
| Frame Type | Moisture Performance | Maintenance | Notes for Bellingham |
|---|---|---|---|
| Vinyl | Good — won't rot, handles moisture well | Low | Cost-effective, wide availability, solid choice for most infill builds |
| Fiberglass | Excellent — very stable in wet/cold swings | Low | Higher upfront cost, holds up well to salt air and temperature cycling |
| Wood | Requires diligent upkeep | High | Classic look but demands regular refinishing in our wet season; we're cautious recommending unclad wood exteriors here |
| Wood-clad (wood interior, metal/vinyl exterior) | Good, if cladding and flashing details are done correctly | Moderate | Popular for a traditional interior look without full wood-maintenance exposure outside |
Whatever frame material you choose, the installation details above matter more to long-term performance than the brand name on the window itself.
Our Process for New Builds and Additions in Sunnyland
We coordinate directly with the framer or general contractor so windows go in at the right point in the build sequence — after the WRB is up, before siding starts. That typically looks like:
- Walking the rough openings before windows arrive, flagging any framing issues while they're still cheap and easy to fix
- Confirming window sizes, swing/operation, and glazing specs match the plans before install day
- Installing sill pan flashing and integrating it with the WRB in the correct shingle-lap sequence
- Setting, leveling, and fastening each window per manufacturer spec
- Flashing and sealing the nailing fin and head flashing before house wrap or siding closes over it
- Photographing flashing details before they're covered, so there's a record of what's behind the finished wall
- Final walkthrough with the builder or homeowner once trim and siding are complete
That documentation step matters more than people expect — once siding goes up, nobody can see the flashing again without tearing into the wall. Having a record of how it was done gives you something to point to years down the road.
Common Issues We Catch Before They Become Problems
Most window-related water damage we get called out to fix in older Sunnyland homes traces back to one of a handful of installation shortcuts — not window quality. On new-construction work, we watch for the same failure points before they get buried:
- Missing or improperly sloped sill pans that let water pool instead of drain
- House wrap taped over the nailing fin instead of lapped under it, which traps water at the sill
- Fasteners driven through the flange in the wrong pattern, distorting the frame and breaking the seal
- Head flashing omitted or installed without a drip edge
- Gaps around the rough opening left unsealed on the interior, causing condensation and energy loss
- Trim installed with unsealed end grain exposed directly to weather
Why Hire a Crew That Already Works in Sunnyland
Every neighborhood in Bellingham has its own quirks — lot orientation relative to prevailing storms, tree cover, soil drainage, how close the property sits to the bay. A crew that already works Sunnyland regularly has a feel for how those specifics play out on new construction: which exposures need extra flashing attention, how much moss-season buildup to expect on north-facing walls, and how local framing conventions in the neighborhood's older housing stock interact with new additions tied into them. That local familiarity doesn't replace good technique, but it means fewer surprises during the build and a install that's suited to the actual site conditions, not a generic checklist.
Get a Free Estimate for Your Sunnyland Project
If you're framing a new build or planning an addition in Sunnyland, we're happy to walk the site, look at your plans, and give you a straightforward estimate on the window install — no pressure, no obligation. Use the form below to get started.