 Bellingham Siding
 New-Construction Windows in Happy Valley
Happy Valley sits close enough to Bellingham Bay and the surrounding tree cover that its homes take a steady beating from three things at once: salt-laden air off the water, wind-driven rain that doesn't fall straight down, and a long stretch of the year where shade and moisture keep everything damp enough to grow moss. None of that is unique to one street or one house — it's the baseline condition for this part of Whatcom County. What it means for windows is simple: the installation has to be done as a system, not as a box dropped into a hole and caulked around the edges.
New-construction windows are different from the replacement windows most homeowners are familiar with. They have a nailing fin around the perimeter of the frame and are meant to be installed before the siding goes on, tied directly into the wall's weather-resistive barrier (WRB) and flashing. That makes them the right choice for additions, full siding tear-offs, and any project where we're opening the wall down to the sheathing anyway. Get this stage wrong and the mistake gets buried behind the siding — where it won't show up as a problem for a few years, and by then it's a much bigger repair.
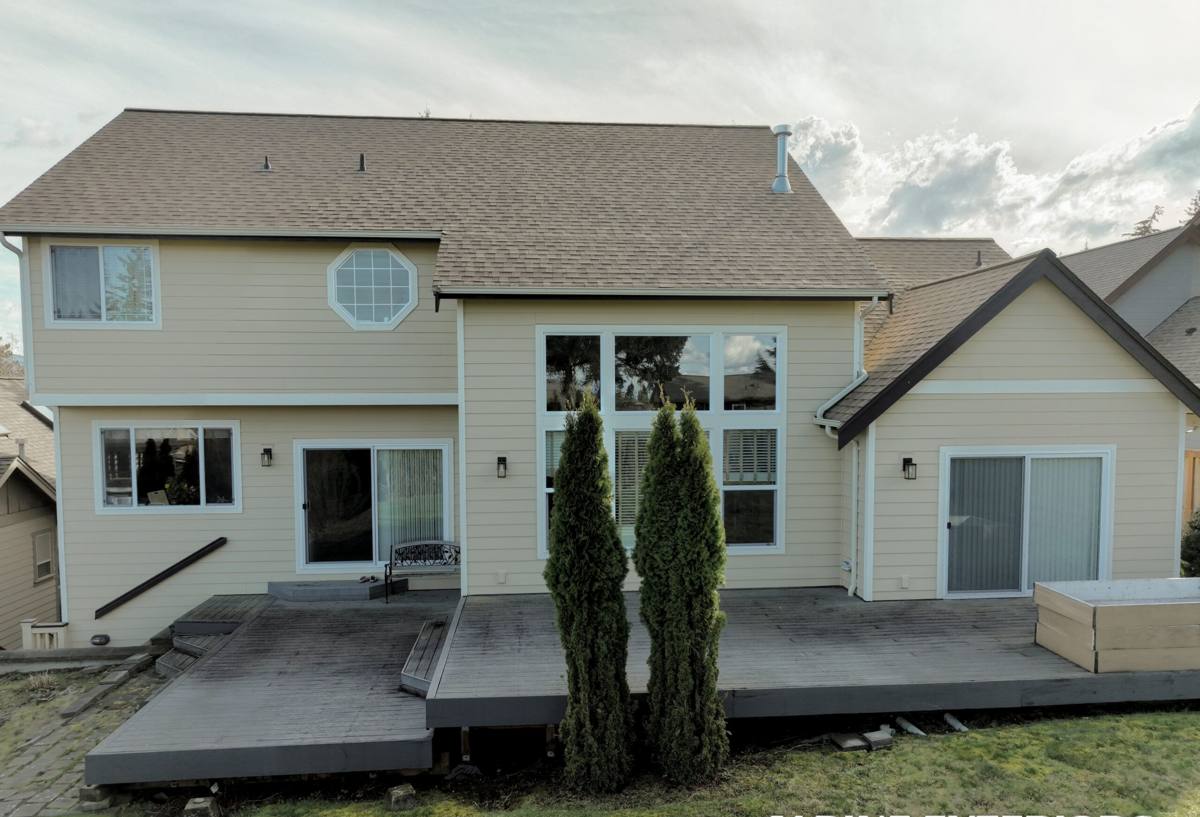
What Happy Valley's Climate Does to a Window Opening
Salt Air
Proximity to the Bay means airborne salt settles on and around exterior hardware, fasteners, and metal flashing over time. It doesn't dissolve materials overnight, but it accelerates corrosion on anything that isn't rated for it. Cheap or mismatched flashing metal, uncoated fasteners, and low-grade window hardware all age faster here than they would fifty miles inland.
Driving Rain
Storms coming off the water rarely arrive straight down — wind pushes rain sideways into wall assemblies, which puts real pressure on every seam around a window opening. A window that would perform fine in a calm climate can still leak here if the sill pan, flashing laps, and sealant joints weren't built to shed water under wind pressure, not just gravity.
Long Moss Season
Where mature trees shade a lot of Happy Valley's lots, surfaces stay damp longer between dry spells. That's good for moss and bad for any window trim or sill detail that traps water instead of shedding it. A flat or poorly sloped sill, or trim installed tight against the siding with no drainage gap, becomes a spot where moisture sits and organic growth takes hold — right next to the window seal.
New-Construction vs. Replacement Windows
Homeowners sometimes ask why we'd recommend a new-construction window and a partial wall opening instead of a simpler insert replacement. The honest answer is that it depends on what's already happening to your siding and sheathing.
| Factor | New-Construction Window | Insert (Replacement) Window |
|---|---|---|
| Best used when | Siding is already off, or the project is new framing/an addition | Existing siding and trim are staying in place and sound |
| Flashing access | Full access to WRB, sheathing, and rough opening for a complete flashing system | Limited to the existing opening; relies on the old frame's condition |
| Water management | New sill pan and flashing built into the wall assembly | Depends on what's already there being intact |
| Labor and cost | Higher — involves siding and trim work around the opening | Lower — window swaps into the existing frame |
| Long-term outcome | Best moisture control when the wall is already open | Good option when the existing envelope is verified sound |
On a Happy Valley project where we're already re-siding a wall or building an addition, new-construction windows are almost always the better call — we're not paying twice to open the same wall later if a hidden flashing problem surfaces.
What a Correct Installation Actually Involves
The window itself is often the least important variable in whether an installation lasts. The sequence around it is what determines whether water stays out for the next twenty-plus years. On every new-construction install, we work through the same order:
- Inspect the rough opening and sheathing for square, level, and any existing moisture damage before anything goes in.
- Install a sloped sill pan at the base of the opening so any water that gets past the window has somewhere to drain — out, not into the wall.
- Apply flashing tape or self-adhered membrane at the sill and jambs, integrated with the WRB using a proper shingle-lap sequence so water sheds downward and outward at every layer.
- Set the window plumb, level, and square, then fasten through the nailing fin per the manufacturer's schedule — this is where corrosion-resistant fasteners matter most given the salt air here.
- Flash the head with a drip cap and top flashing lapped over the jamb flashing, never under it.
- Seal and insulate the interior gap around the frame with a proper backer rod and sealant or low-expansion foam — not just caulk smeared around the trim.
- Finish exterior trim with a drainage gap where siding meets the window, so water and debris don't sit against the frame.
Skip or shortcut any one of those steps and the window can still look fine from the curb for years while moisture works its way into the framing behind it. That's the part of the job that doesn't get seen — and it's the part that actually determines whether the window performs.
Frame Material — Honest Trade-Offs
We get asked about vinyl, fiberglass, and wood-clad frames regularly. Each has a legitimate place, and the right choice depends on budget, exposure, and how the house is finished elsewhere.
- Vinyl is the most common and cost-effective option. It handles moisture well and doesn't need painting, but lower-end vinyl can flex or discolor over time with heavy sun and salt exposure — we spec heavier-gauge, well-reinforced vinyl for anything facing open weather.
- Fiberglass costs more up front but holds paint well, resists expansion and contraction across temperature swings, and generally handles a coastal, wet climate with less long-term maintenance than vinyl.
- Wood-clad gives the best interior look and is common on higher-end builds, but it carries the most maintenance responsibility — any breach in the exterior cladding exposes wood underneath, which is a real concern anywhere moss and prolonged dampness are part of the yearly cycle. We're upfront about that maintenance commitment before anyone chooses it.
We don't push one brand or material as the answer for every project. We size the recommendation to your home's exposure, your maintenance appetite, and your budget — and we'll tell you plainly if a product isn't a good fit for a shaded, damp lot versus a more open, sunnier one.
Our Process for a Happy Valley Project
The work itself follows the same sequence on every job, but a few things about working in this neighborhood specifically shape how we plan it:
- We check tree cover and drainage patterns around the house before finalizing sill and flashing details, since shaded lots stay damp longer and need trim details that shed water rather than trap it.
- We spec corrosion-resistant fasteners and flashing metal as standard, not an upsell, given the salt air this close to the Bay.
- We sequence window installs with siding and WRB work as one continuous envelope, so there's no gap in weather protection between trades or between visits.
- We walk the finished openings with you before trim goes on, so you can see the flashing and sill pan work that's about to get covered up.
A Homeowner's Checklist
Whether you hire us or someone else, these are the things worth confirming before a new-construction window job starts and before it's called finished:
- Ask to see the flashing sequence in writing or in photos before the wall is closed up — this is the step you can't check later.
- Confirm a sloped sill pan is part of the install, not just sealant at the base of the frame.
- Ask what fastener and flashing metal grade is being used, and whether it's rated for coastal or high-moisture exposure.
- Get the manufacturer's installation instructions referenced in your contract — proper installation is usually a condition of the window warranty itself.
- Ask how the trim detail handles drainage where it meets the siding, especially on shaded sides of the house.
- Get a written scope that separates window unit cost from the labor and flashing work around it, so you know what you're actually paying for.
Why Local Experience in Happy Valley Matters
A crew that's worked this neighborhood knows which lots hold moisture longest, which sides of a house take the worst wind-driven rain, and how much shade a given block actually gets through the year. That's not something you can fully account for from a spec sheet — it comes from having done the work here before and having gone back to see how earlier installs held up. We treat every window opening as part of the whole exterior envelope, because in a climate like Bellingham's, that's the only way it actually stays dry.
If you're planning an addition, a full siding replacement, or new construction in Happy Valley and want windows installed the right way the first time, we're happy to walk the project with you and give you a straightforward, no-pressure estimate using the form below.