 Bellingham Siding
 Building New in Puget? The Windows Are Where Problems Start
If you're framing a new home or a major addition in the Puget area, the windows are one of the few details that will quietly decide whether the building envelope holds up for the next 30 years or starts leaking in year three. New-construction window installation is different from a replacement job — you're not working around an existing opening, you're building the opening, the flashing, and the water management system from scratch, in the order the manufacturer and the weather-resistive barrier (WRB) require. Get that sequence wrong and it's hidden behind siding and trim before anyone notices.
We install new-construction windows on builds throughout the Bellingham area and Whatcom County, and Puget's combination of salt-laden air, driving wind-blown rain, and a long, shaded moss season makes this a job where shortcuts show up early. This page covers what we watch for specifically on Puget builds, what a correct install looks like, and how our process works from rough opening to final trim.
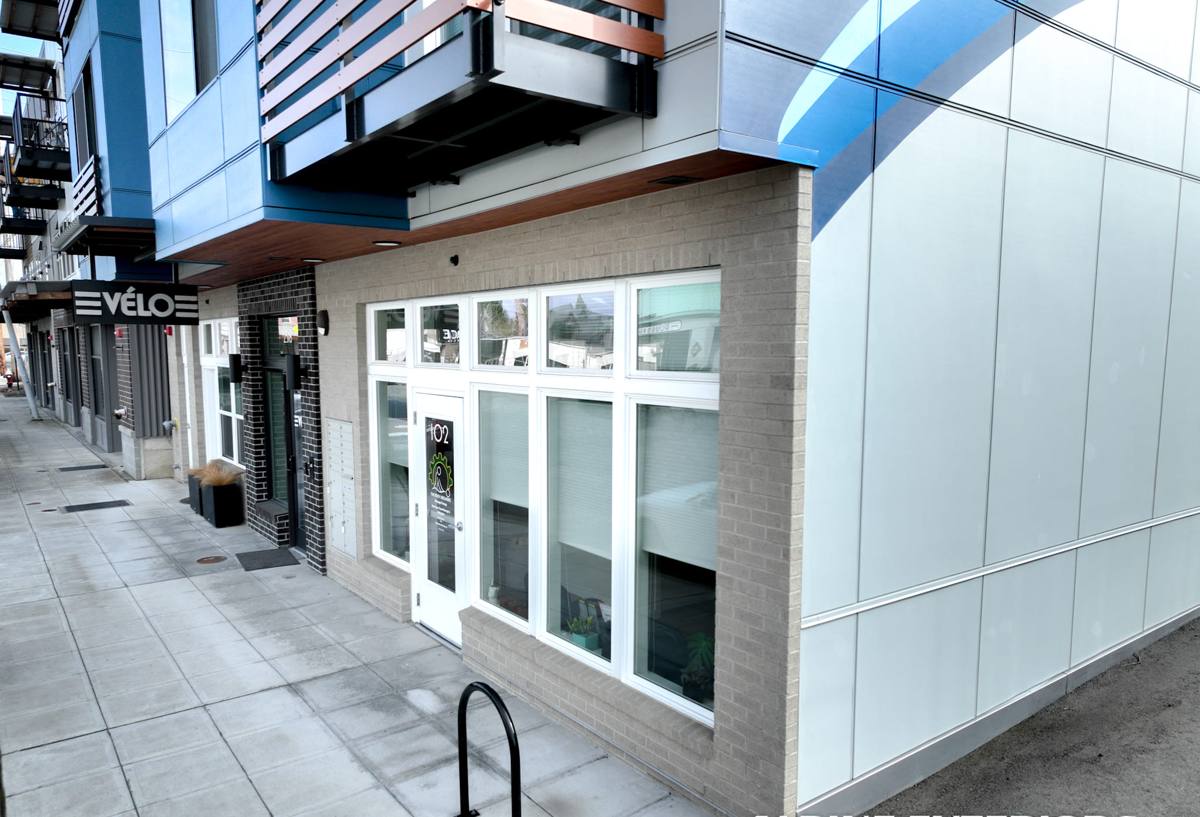
What Puget's Marine Climate Demands From New-Construction Windows
Puget sits in the kind of maritime climate where the building envelope is under near-constant low-grade stress — not from any single dramatic event, but from months of moisture exposure that finds every gap a window install left behind.
Salt Air and Corrosion
Proximity to Puget Sound means airborne salt is a real factor for fasteners, flashing metal, and hardware. Cheap or mismatched metals at the window opening — the wrong flashing tape, uncoated fasteners, aluminum touching the wrong material — corrode faster here than they would inland. We spec corrosion-resistant fasteners and flashing components as a default on Puget jobs, not an upgrade.
Driving Rain and Wind-Driven Water
Rain in this region doesn't just fall — it gets pushed sideways against west- and southwest-facing walls during storms. A window opening that relies on caulk alone to stop water, instead of a proper shingled flashing system that sheds water down and out by gravity, will eventually leak. On new construction we get one real chance to build that drainage plane correctly before it's covered, which is exactly why the install order matters so much here.
A Long Moss and Shade Season
Whatcom County's tree cover and overcast stretches mean moisture sits on north-facing and shaded walls for extended periods, and moss and algae get a foothold on sills, trim, and low-slope surfaces that don't dry out. Window sills and trim details need a slight positive slope and a drainage path so water doesn't pond and feed growth right at the frame.
New-Construction vs. Replacement Windows — Why the Install Method Matters
Homeowners sometimes assume "new-construction window" just means a newer-looking window. It actually refers to the installation method — the window has a nailing fin that integrates directly with the WRB and flashing system, versus a replacement/insert window that fits into an existing frame with no nailing fin exposed.
| Factor | New-Construction Window | Replacement (Insert) Window |
|---|---|---|
| Installation point | Nailing fin fastens to sheathing before siding goes on | Fits inside existing frame, no fin |
| Water management | Fully integrates with WRB and flashing, best long-term seal | Relies on the condition of the existing frame |
| Best used for | New builds, additions, full wall reframes | Existing homes where the frame is sound |
| Access to full flashing repair | Yes — opening is exposed during install | Limited — existing frame stays in place |
| Typical use in Puget builds | Standard for new construction | Not appropriate for a new build |
On a true new-construction project, there's no reason to use anything other than the nailing-fin method — it's what lets us build the drainage plane correctly the first time, which matters more here than in a drier climate where a marginal seal might go unnoticed for years.
What a Correct New-Construction Window Install Involves
The window itself is only part of the job. The sequence around it is what keeps water out for the life of the house. On every Puget install we follow the same core order:
- Rough opening is checked for square, level, and correct size before the window ever shows up on site
- Sill pan flashing installed first, sloped to drain outward, so any water that gets past the window has somewhere to go
- WRB (housewrap or building paper) integrated so the layers shingle correctly — upper layers overlap lower layers, never the reverse
- Window set, shimmed level and plumb, and fastened per the manufacturer's schedule — not just "close enough"
- Side and head flashing installed over the nailing fin in the correct shingled order, sealed with compatible flashing tape
- Head flashing or drip cap installed to divert water around, not into, the top of the frame
- Interior air-sealing at the rough opening, separate from the exterior water seal — these are two different jobs, not one
- Final check of operation, sightlines, and reveal before siding and trim close in the opening
Every one of those steps gets buried once siding goes on. That's exactly why the sequence has to be right the first time — there's no easy fix once trim is installed and a wall is finished.
Window and Material Choices for Puget New Builds
The window unit itself matters too, particularly frame material and glass package, given how much moisture and temperature swing this climate puts on a building envelope over a year.
| Frame Material | How It Handles Puget's Climate | Trade-offs |
|---|---|---|
| Vinyl | Good moisture resistance, no corrosion risk, solid value | Less rigid over very large openings; color/finish options more limited |
| Fiberglass | Very stable through temperature and moisture swings, strong for larger units | Higher upfront cost |
| Wood-clad | Warm interior look, exterior clad protects the wood | Any breach in the cladding exposes wood to our wet climate — needs disciplined installation and maintenance |
| Aluminum | Strong and slim sightlines | Conducts heat and cold readily; needs a thermal break to perform well here |
For glass, we typically talk new-construction clients through double-pane, low-E, argon-filled units as the baseline for this region — they perform well against our overcast, moderate-temperature climate without the added cost of triple-pane, which tends to make more sense in colder inland climates than it does right on the Sound. We'll walk through your specific elevation exposure — a west-facing wall catching direct storm wind deserves a different conversation than a sheltered north wall — before recommending a glass package.
Our Process for New-Construction Window Installation
- Plan review. We review the window schedule against the framing plans and flag any rough openings that need adjustment before windows are ordered.
- Coordination with your builder. On new construction we're usually working alongside a general contractor or the homeowner acting as their own GC — we coordinate timing so windows go in at the right point in the framing and WRB sequence, not before the wall is ready or after siding prep has already started.
- Opening prep and inspection. Rough openings are checked and corrected before any window is set.
- Flashing and sill pan installation. Built and sloped correctly before the window goes in.
- Window installation. Set, shimmed, fastened, and flashed per manufacturer instructions and our own field standards for this climate.
- Interior and exterior sealing. Air-sealed inside, water-managed outside — treated as separate systems.
- Final walkthrough. Every window checked for operation, level, and finish before we sign off, and before siding closes the opening.
Why Hire a Crew That Already Works Puget
Flashing details that work fine in a dry inland climate aren't always adequate here. A crew that installs windows across Whatcom County regularly sees how Puget's wind direction, rainfall volume, and shaded lots actually behave against a building — not just what a manufacturer's install sheet shows in a diagram. That local pattern recognition is what catches a marginal detail before it's covered by siding, not after a homeowner reports a stain on the drywall two winters later.
There's also a practical coordination piece: new-construction window installers need to work cleanly with framers, siding crews, and inspectors on a schedule that isn't always in our control. A crew that's used to that choreography on local jobsites keeps your build moving instead of becoming the trade that holds up the schedule.
Common Mistakes We Watch For on New Builds
Most window problems we get called out to fix on newer homes trace back to a small number of repeatable mistakes made during the original install:
- Flashing installed out of shingled order, so water gets directed behind the WRB instead of over it
- Sill pans missing or flat instead of sloped to drain
- Caulk used as the primary water barrier instead of proper flashing
- Incompatible tape or sealant used against the window manufacturer's frame material, which can void warranty coverage
- Fasteners that aren't corrosion-resistant, chosen without accounting for salt air exposure
- Head flashing or drip caps skipped or undersized
None of these are visible once the wall is finished — which is the whole argument for getting them right during the new-construction phase, when the opening is still exposed and easy to correct.
Let's Talk About Your Build
If you're framing a new home, addition, or major remodel anywhere in the Puget area or greater Bellingham, we're happy to walk through your window schedule, talk through frame and glass options for your specific exposure, and coordinate directly with your builder on timing. Fill out the form below for a free, no-pressure estimate — there's no obligation, and it's the easiest way to get a straight answer on scope and timing before your framing schedule locks in.