 Bellingham Siding
 Building New in Edgemoor Means Getting the Window Install Right the First Time
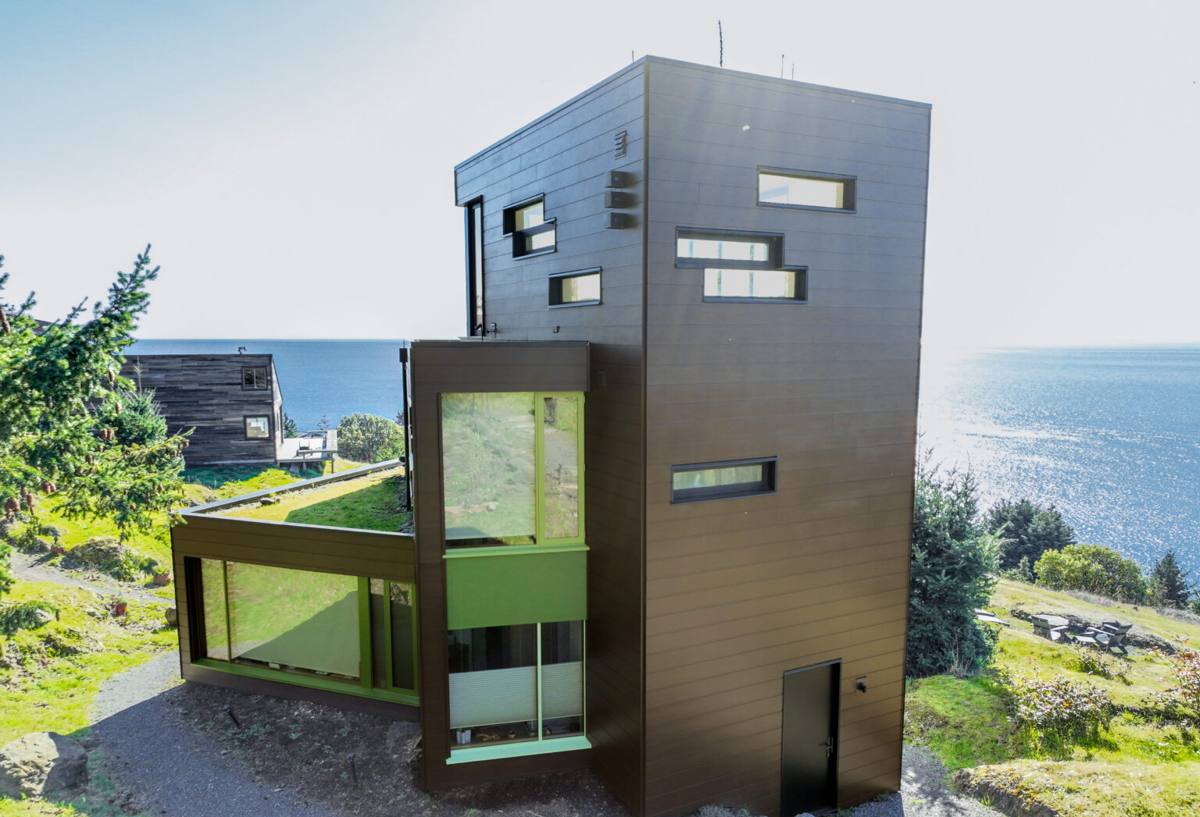
Edgemoor sits close enough to Bellingham Bay that salt-laden air, wind-driven rain, and shade-grown moss are simply part of owning property there. If you're framing a new home or a major addition in this neighborhood, the windows you choose and how they're installed will quietly determine whether your walls stay dry for the next 30 years or start showing rot behind the trim in five. New-construction windows are installed differently than replacement units — they go in with a full nailing flange, integrated flashing, and a housewrap tie-in before siding ever goes up. That's an advantage, because it means the water management plane can be built correctly from bare sheathing outward, rather than retrofitted around an existing wall.
We work new-construction window installs across Bellingham and Whatcom County, and Edgemoor jobs get extra attention to the building envelope because of how exposed the neighborhood is to marine weather moving in off the bay. Getting this stage right isn't complicated, but it does require doing several ordinary steps in the correct order — and that's where a lot of installs quietly go wrong.
What Edgemoor's Climate Actually Does to a Window Opening
Salt Air and Metal Components
Proximity to saltwater accelerates corrosion on unprotected fasteners, aluminum cladding, and cheap hardware. Over years, this shows up as pitting on hinges and cranks, streaking on cladding, and premature failure of screws that were never rated for a marine-influenced environment. It's a slow problem, which is exactly why it gets overlooked during construction — the damage isn't visible until well after the crew has moved on.
Driving Rain and Wind-Loaded Water
Bellingham's rain rarely just falls straight down. Storms moving through Whatcom County frequently push rain sideways into west- and southwest-facing walls, which describes a good share of Edgemoor's bay-facing lots. Wind-driven rain finds any gap in flashing or sealant and will work its way behind the window flange if the integration with the wall's water-resistive barrier isn't done in the correct shingle-lap order.
Long Moss and Shade Season
Many Edgemoor lots carry mature tree cover, which means extended damp shade on north- and east-facing walls for a large part of the year. Moss and algae don't just grow on roofs — they colonize sill areas, cladding seams, and any window trim that stays wet longer than it should. That sustained moisture load is hard on caulk joints and finish coatings, and it's a strong argument for detailing the window opening so water sheds away instead of sitting against the frame.
What a Correct New-Construction Window Install Involves
New-construction windows rely on their flange and the surrounding flashing system to keep water out — not caulk alone. A correct sequence looks like this:
- Housewrap or building paper installed on the wall first, with the rough opening prepped and sill pan flashing in place.
- Sill pan sloped and end-dammed so any water that reaches the sill drains back outward, never inward.
- Window set into the opening, checked for level, plumb, and square before a single fastener goes in.
- Flange fastened per the manufacturer's schedule — the fastener type and spacing affects both structural performance and warranty validity.
- Flashing tape applied over the flange in the correct shingle-lap order: sill first, jambs next, head last — so every layer sheds water onto the layer below it, never up and under.
- Head flashing or a drip cap integrated above the window where the siding detail calls for it.
- Interior and exterior sealant joints placed only where the manufacturer specifies, with a backer rod used on wider gaps so the sealant isn't asked to bridge open space.
Skip or reverse any one of those steps and the window can look perfectly finished on day one while sitting on a flashing detail that will leak in three to five years of Bellingham rain. This is why we never treat window flashing as an afterthought squeezed in around a siding schedule — it's sequenced as its own step before cladding starts.
Choosing Window Materials for a Bay-Adjacent Lot
Edgemoor's mix of salt exposure, shade, and driving rain narrows down what performs well long-term. There's no single right answer for every lot, but the trade-offs are worth understanding before you spec a whole house full of windows.
| Frame Material | How It Handles Salt Air & Moisture | Maintenance Reality |
|---|---|---|
| Vinyl | Won't corrode; performs well against salt air | Low upkeep, but frame color and finish can fade with years of UV and coastal weather |
| Fiberglass | Very stable, resists moisture-driven expansion and contraction well | Low upkeep; higher upfront cost, holds finish longer than vinyl |
| Aluminum | Structurally strong but conducts cold and is more prone to corrosion near salt air without a quality anodized or powder-coat finish | Needs a proven marine-grade finish spec; otherwise pitting shows up over time |
| Wood / wood-clad | Handsome, but exterior wood faces need diligent finish maintenance in a damp, shaded, moss-prone yard | Highest upkeep; repainting/refinishing exterior faces on a real schedule is non-negotiable |
We're honest with clients about this: wood-exterior windows can look great in Edgemoor's older architectural styles, but they demand a maintenance commitment that not every owner wants to keep up with under a shade canopy that keeps surfaces damp. Fiberglass and quality vinyl carry less long-term risk in this specific climate, which is why we lean toward recommending them where the design allows.
Hardware and Fastener Choices Matter More Here Than Inland
A window that's correctly flashed can still underperform if the hardware and fasteners weren't chosen for a marine-influenced environment. On Edgemoor installs we spec corrosion-resistant fasteners for the flange and trim, and we favor window hardware — locks, cranks, hinges — with finishes rated for coastal exposure rather than a standard interior-grade finish. It's a small line-item difference in cost and a large difference in how the windows operate ten years from now.
Our Process for New-Construction Window Installs in Edgemoor
We keep this straightforward because straightforward is what protects the wall assembly:
- Site walk and rough-opening check — verifying openings are framed square and to size before windows are ordered.
- Product and finish selection — matched to the home's exposure (bay-facing, shaded, or a mix) rather than a one-size spec for the whole house.
- Sill pan and flashing plan — reviewed against the siding and trim detail before install day, not improvised on site.
- Install day — set, level, fasten, flash, and seal in the correct order, with photos of the flashing layers before they're covered by siding.
- Final check — operation, seals, and trim reviewed with the builder or homeowner before the crew leaves.
Because window flashing gets covered by siding within days, that "photos before it's covered" step matters — it's the only record of a detail no one will ever be able to inspect again without tearing into the wall.
Coordinating with Your Builder or GC
On most new-construction projects, we're one trade among several working against a shared schedule. Windows have to arrive on site correctly sized, get installed before the weather-resistive barrier is compromised, and get flashed before siding crews show up behind us. We coordinate directly with general contractors and framers on timing so the window stage doesn't become the bottleneck — or worse, get rushed to keep the schedule, which is exactly how flashing mistakes happen. A crew that's done this sequencing on other Bellingham-area builds knows how to fit into that schedule without cutting a step.
Why Local Experience with Edgemoor Lots Specifically Helps
Whatcom County covers a lot of microclimates, and Edgemoor's combination of bay exposure, mature tree canopy, and older neighborhood grading isn't identical to a new subdivision a few miles inland. A crew that's worked this specific area already knows which elevations tend to take the worst wind-driven rain, where shade keeps walls damp longer, and how existing drainage on established lots affects sill and grading decisions around new openings. That local pattern recognition doesn't replace a proper flashing detail — but it does mean fewer surprises and better decisions made before install day, not after a callback.
Simple Pre-Install Checklist for Homeowners and Builders
- Confirm window frame material matches the home's actual sun/shade and salt-air exposure, not just its architectural style.
- Ask whether sill pan flashing is included in the install scope — it should be, on every new-construction opening.
- Verify fastener and hardware finishes are specified for coastal/marine exposure, not a generic interior-grade spec.
- Get written confirmation of the flashing shingle-lap order (sill, then jambs, then head).
- Request photos of flashing layers before siding covers them.
- Coordinate window delivery and install timing with your GC so the opening isn't left exposed to weather longer than necessary.
If you're framing a new home or planning an addition in Edgemoor, we're happy to walk the site, look at your window schedule, and talk through what your specific elevations and exposure call for. Reach out for a free, no-pressure estimate using the form below.