 Bellingham Siding
 New-Construction Windows in Birchwood: Getting the Install Right the First Time
"New-construction windows" is a trade term, not a marketing phrase. It refers to windows with a nailing fin (also called a flange) that gets installed into the rough opening before the siding or exterior finish goes on, then flashed and sealed as part of the wall's water management system. This is different from a pocket or insert replacement window, which fits inside an existing frame in a home that already has siding on it. In Birchwood, we run into both situations regularly: ground-up new builds, additions, garage-to-living-space conversions, and full re-sides where the siding contractor strips a wall down to the sheathing and the window gets replaced as a new-construction unit rather than an insert. Knowing which situation you're in changes the entire installation sequence, and getting that sequence wrong is one of the most common sources of water intrusion in Whatcom County homes.
New-Construction vs. Insert Windows
An insert (or "pocket") window keeps the existing exterior trim and cladding in place and slides the new window into the old frame. It's faster and less invasive, but it relies on the existing flashing already being sound. A new-construction window strips that away entirely — you're building the water management detail from scratch, which is more work up front but gives you full control over how the opening sheds water. For Birchwood projects where we're already off the siding, doing it as a proper new-construction install is almost always the better long-term call, because you only get one clean shot at the flashing before the wall closes up again.
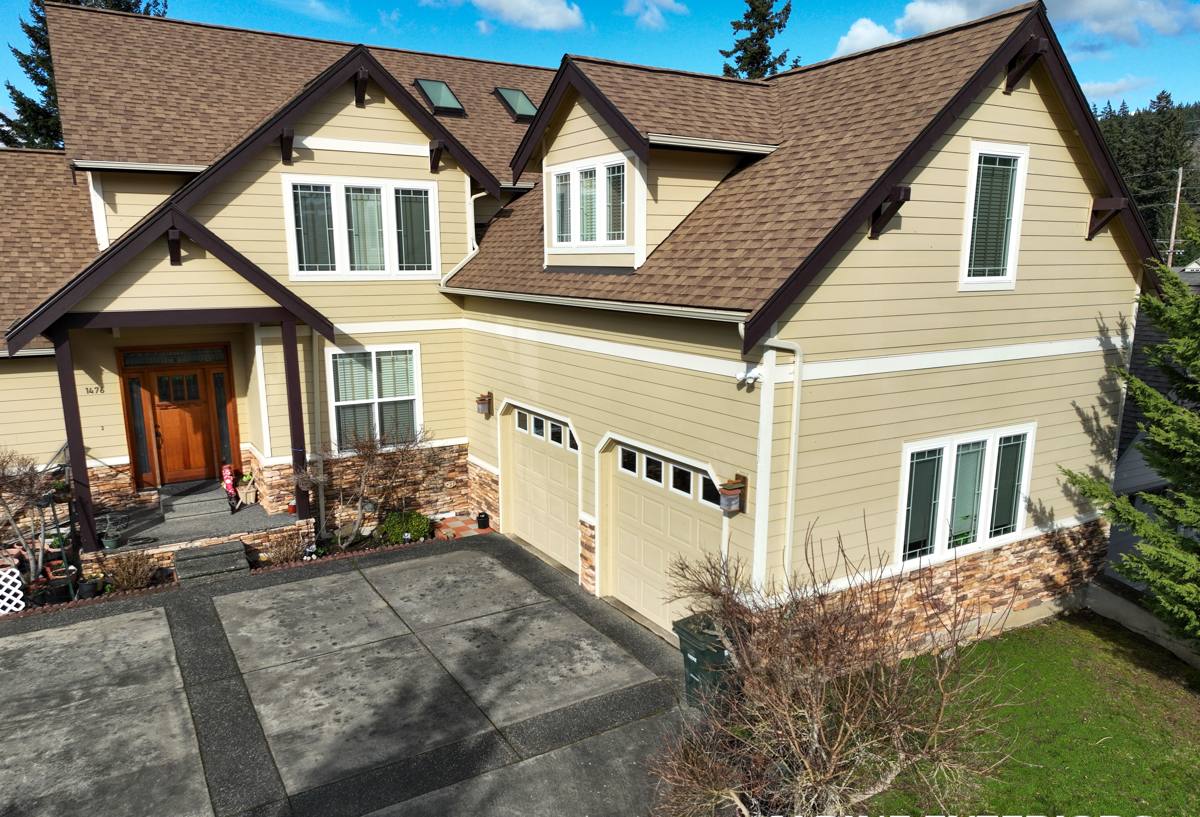
Why Birchwood's Climate Is Hard on Window Installations
Bellingham sits on Bellingham Bay, and Birchwood, like most of the city, deals with a marine climate that's more demanding on a window opening than people expect. Three things matter most here:
- Salt-laden air. Proximity to the bay means airborne salt reaches fasteners, flashing metal, and window hardware over time, accelerating corrosion on anything that isn't rated for it.
- Driving, wind-driven rain. Storms off the water don't just fall straight down — wind pushes rain sideways into wall assemblies and window openings, which is exactly the condition that exposes a sloppy flashing job. A window that would be fine in a dry climate can leak here within a season or two if the sill pan or head flashing was skipped or done wrong.
- A long moss and moisture season. Whatcom County's wet months stretch long, and shaded, north-facing walls stay damp for extended stretches. That moisture sits against any gaps in the seal around a window opening, which is why small installation shortcuts show up as rot years later, not weeks later.
None of this means Birchwood needs exotic materials — it means the basics (sill pans, proper flashing lap order, correct sealant placement) can't be skipped or rushed, because the climate here doesn't forgive shortcuts the way a drier region might.
What a Correct New-Construction Window Install Actually Involves
Flashing and Water Management Sequence
Every new-construction window opening should be built in a specific order, sometimes called "shingle-style" flashing because each layer overlaps the one below it, the same way roof shingles do, so water is always directed outward and downward:
- A sloped sill pan flashing at the bottom of the rough opening, so any water that gets past the window has somewhere to drain instead of pooling against the framing.
- Jamb (side) flashing that laps over the sill pan.
- The window unit itself, set into the opening plumb, level, and square, then fastened through the nailing fin per the manufacturer's schedule.
- Head (top) flashing that laps over the jamb flashing and, ideally, tucks behind the weather-resistive barrier above the opening.
- Sealant at the specific points the manufacturer calls for — not a bead around the entire perimeter, which can actually trap water inside the opening instead of letting it drain.
Skip a step, do it out of order, or seal the wrong spots, and you've built a pocket that collects water instead of shedding it — often invisible from inside the house until the sheathing or framing underneath has already started to fail.
Nailing Fin, Fastening, and Air Sealing
The nailing fin needs full contact with the sheathing and fasteners at the spacing the window manufacturer specifies — not "close enough." On the interior side, the gap between the window frame and the rough opening needs to be air-sealed with a compatible low-expansion foam or sealant, not stuffed with fiberglass insulation alone, which does nothing to stop air and moisture movement. This interior air-sealing step matters as much as the exterior flashing for long-term comfort and for keeping condensation from forming inside the wall cavity during Bellingham's colder, wetter months.
Frame Material Choices for Birchwood's Climate
All major window frame materials can work in Whatcom County if installed correctly, but they don't all handle salt air, moisture, and temperature swings the same way. Here's how the common options compare for a coastal Bellingham install:
| Frame Material | Moisture / Rot Resistance | Salt-Air Performance | Upkeep | Relative Cost |
|---|---|---|---|---|
| Vinyl | Very good — won't rot | Good; hardware quality varies by brand | Low | $ |
| Fiberglass | Excellent — very stable in wet/dry cycling | Very good | Low | $$$ |
| Aluminum-clad wood | Good if sealed and maintained | Fair — cladding protects wood, but any breach exposes it to rot | Moderate to high | $$$$ |
| Bare aluminum | Fair — prone to condensation without thermal breaks | Fair — needs corrosion-resistant hardware near the bay | Moderate | $$ |
Our standard for Birchwood installs is vinyl or fiberglass with corrosion-resistant fasteners and hardware, because they hold up to the salt-air and moisture cycle here with the least long-term maintenance. Wood-clad frames can still be the right call for a specific look or historic match, but we'll walk through the added upkeep honestly before you commit — the cladding only protects the wood as long as every seam and joint stays sealed, and that's an ongoing responsibility, not a one-time install detail.
Our Process for a Birchwood New-Construction Window Project
Whether it's a new build, an addition, or windows going in as part of a full re-side, our process stays consistent:
- On-site assessment of the rough openings, wall assembly, and any existing water damage or flashing issues before quoting.
- Product selection based on the home's exposure — a west-facing wall catching wind off the bay gets more scrutiny than a sheltered, tree-covered elevation.
- Sill pan and flashing installation following the shingle-lap sequence, using flashing materials compatible with both the window and the wall's weather-resistive barrier.
- Window setting — plumb, level, square, and fastened to the manufacturer's schedule.
- Interior air sealing and exterior sealant at the correct points only.
- Final check against the flashing plan before siding or trim closes the opening up — this is the point where a mistake is still cheap to fix, and expensive after.
Common Mistakes We Catch in New-Construction Window Openings
Some of these come from other trades' work we're asked to correct or work around; others are things we specifically check for on every job:
- No sill pan flashing, or a flat sill pan with no slope to drain water out
- Flashing installed in the wrong order (head flashing under the jamb flashing instead of over it)
- Sealant run continuously around the entire window perimeter, trapping water instead of letting it escape
- Nailing fin fasteners missing, under-driven, or spaced too far apart
- Gaps between the frame and rough opening filled with fiberglass insulation instead of a proper air seal
- Hardware and fasteners not rated for coastal/salt-air exposure
- Window not shimmed square before fastening, causing operational problems (sticking sashes, failed seals) later
Why a Crew That Already Works Birchwood Matters
New-construction window flashing isn't a one-size-fits-all detail — it has to match the specific wall assembly, weather-resistive barrier, and siding type on the house, and it has to account for which direction the wall faces relative to the bay and prevailing weather. A crew that regularly works in Birchwood and the surrounding Bellingham neighborhoods already knows which elevations take the worst of the wind-driven rain, how local building department inspectors expect flashing sequences documented, and how the area's older housing stock was typically built, which matters when a new-construction window is going into an addition tied onto an existing structure. That local familiarity shows up in fewer surprises mid-project and a flashing job that's actually built for the exposure the house has, not a generic install.
What to Expect After Installation
A correctly installed new-construction window shouldn't need much attention, but a few things are worth keeping an eye on given the local climate:
- Check exterior sealant joints yearly for cracking or separation, especially after a hard winter
- Keep gutters and downspouts clear so water isn't sheeting down the wall directly above a window opening
- Watch for moss or algae buildup on nearby siding as an early sign of a shaded, slow-drying wall section
- Operate hardware periodically so moving parts don't seize from long stretches of damp weather
If we install the windows, we'll tell you plainly what maintenance schedule actually applies to the specific frame material and location on your house — not a generic checklist that doesn't account for your home's exposure.
Get a Straight Answer on Your Birchwood Window Project
If you're planning new construction, an addition, or a full re-side in Birchwood and need windows installed correctly the first time, we're glad to take a look and give you an honest assessment — no pressure, no inflated scope. Fill out the form below for a free estimate.