 Bellingham Siding
 Why Birch Bay Siding Wears Differently Than Siding Ten Miles Inland
Birch Bay sits right on the water, and that changes what siding has to survive. Homes a few blocks off the beach take a steady dose of salt-laden air that inland Whatcom County homes never see. Salt doesn't just sit on a wall and look chalky — it's hygroscopic, meaning it actually pulls moisture out of the air and holds it against the siding surface. On top of that, storms coming off Georgia Strait and the Salish Sea don't fall straight down here; they arrive sideways, driven by wind that pushes rain up under laps, around trim, and into any gap a builder left loose fifteen years ago. Add a moss season that, in this part of Whatcom County, can run from October through May, and you've got siding that's under near-constant assault from three directions at once: salt corrosion, wind-driven water intrusion, and organic growth that holds moisture against the wall long after a normal rain would have dried off.
We're not describing a hypothetical. This is the specific failure pattern we see house after house in Birch Bay: fastener corrosion happening faster than it should, caulk joints failing years ahead of schedule, and moss mats building up in shaded north- and west-facing walls where the sun never gets a chance to dry things out. Siding repair here isn't just cosmetic touch-up work. Done right, it's moisture management for a house that's fighting a harder climate than most of the county.
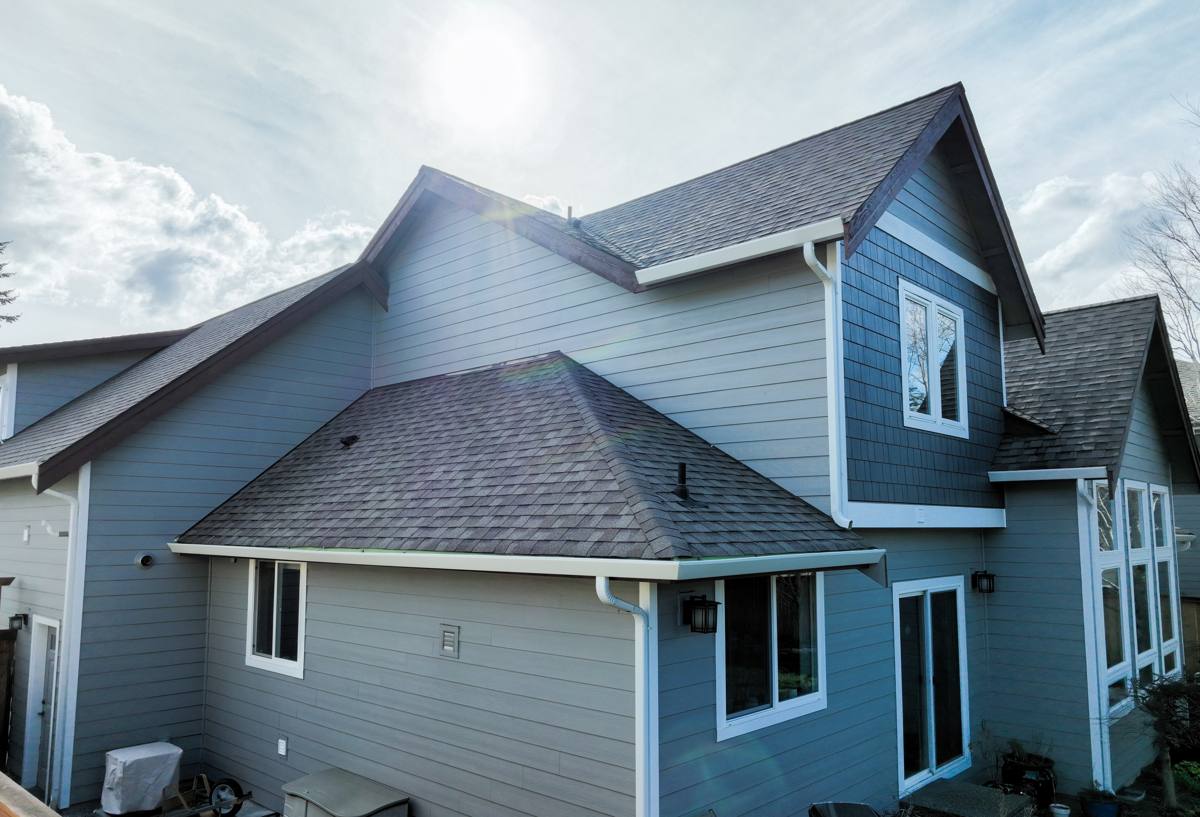
What "Repair" Actually Means When Salt Air and Moss Are Involved
A lot of siding repair calls start with someone pointing at a stained or bowed section and asking for that piece replaced. That's the visible symptom, not necessarily the whole problem. In a coastal environment like Birch Bay, the damage you can see is often smaller than the damage hiding behind it. A correct repair means answering three questions before a single board comes off the wall:
- Is the substrate (sheathing, framing) behind the damaged siding still sound, or has trapped moisture already started rotting it?
- Is the water-resistive barrier (the house wrap or building paper) intact where the damage occurred, or did the original installation leave a gap that let water track behind the cladding?
- Is the damage isolated to one section, or is it a symptom of a systemic issue — bad flashing detail, missing kick-out flashing at a roof-wall intersection, or caulk used where flashing should have been — that will just reappear somewhere else next winter?
Skipping that inspection and just swapping the visibly bad board is how homeowners end up paying for the same repair twice. We open up the area, check the sheathing with a moisture meter where there's any doubt, and only then decide whether it's a straightforward board swap or something that needs flashing correction or a small section of sheathing repair before new siding goes back on.
Common Birch Bay-Specific Repair Triggers
Certain damage patterns show up disproportionately in this area compared to siding calls elsewhere in Whatcom County:
- Fastener corrosion and bleed-through — rust streaks running down from nail heads, usually a sign the original fasteners weren't rated for a coastal exposure.
- Moss-driven paint and finish failure — moss holding moisture against a painted surface long enough that the finish blisters or peels well before its expected life.
- Caulk joint failure at trim and butt joints — UV and salt exposure degrade caulk faster here, and once it cracks, wind-driven rain finds the opening immediately.
- Buckling or cupping near grade — splash-back and poor drainage at the base of the wall, worse on lots with limited slope away from the foundation.
- Soft or delaminating trim boards at inside corners and window returns, where water collects and rarely gets a chance to dry.
Repair vs. Replacement: How We Help You Decide
Not every damaged section needs a full re-side, and we're not going to tell you it does. But there's a point where patch-repairing an aging, failing installation stops making financial sense. Here's the framework we actually use on site:
| Factor | Leans Toward Repair | Leans Toward Replacement |
|---|---|---|
| Extent of damage | Isolated to one or two wall sections | Recurring across multiple elevations |
| Substrate condition | Sheathing dry and sound behind damage | Rot found in more than one location |
| Age of existing siding | Under 15 years, otherwise performing well | Near or past expected service life |
| Cause of damage | One-time event (impact, isolated flashing failure) | Systemic moisture or installation defect |
| Material match available | Existing profile/color still obtainable | Discontinued profile, visible patchwork inevitable |
If two or more items land in the replacement column, we'll say so plainly. We'd rather tell a Birch Bay homeowner the honest math up front than have them pay for a repair that buys eighteen months.
Why Material Choice Matters More Here Than Almost Anywhere
We install and repair with James Hardie fiber cement exclusively — we don't carry vinyl, LP SmartSide, or the other fiber cement brands, and that's a deliberate standard, not an oversight. In a salt-air, high-moisture environment like Birch Bay, that decision matters more than it would on a dry inland lot.
Fiber cement doesn't corrode, and it's dimensionally stable in a way that matters when you're dealing with constant wet-dry cycling off the water — it won't expand and contract the way some engineered wood products can, and it doesn't provide the organic food source that wood-based sidings can for the moss and algae that thrive in this climate. Hardie's ColorPlus factory finish is baked on and warrantied against fading in a way that field-applied paint on a repair patch generally isn't. When we're repairing an existing Hardie installation, we can match the exact plank profile and, in most cases, the ColorPlus color, so the repaired section blends in rather than reading as an obvious patch.
If your home currently has a different siding material and you're dealing with recurring repair issues in Birch Bay's climate, that's worth an honest conversation. We'll always repair what's repairable. But if a section is failing because the material itself struggles with sustained coastal moisture exposure, patching it again isn't solving the underlying problem — and we'll tell you that instead of just billing another repair.
Our Repair Process for Birch Bay Homes
1. On-Site Assessment
We walk the affected elevations, check moisture readings where the siding shows staining, buckling, or soft spots, and look at flashing details at every penetration — windows, roof-wall intersections, deck ledgers. In a coastal wind-driven-rain environment, flashing failures are often the real root cause behind siding that looks like it just "went bad."
2. Scope and Explanation
You get a plain-English explanation of what we found, what's driving it, and what it'll take to fix it correctly — including if that means more than the section you originally called about. No surprise change orders once the wall is open.
3. Correct the Cause, Not Just the Symptom
If the damage traces back to a flashing gap, missing kick-out flashing, or a water-resistive barrier detail that was never lapped correctly, we fix that first. Replacing siding over an unresolved moisture path just resets the clock on the same failure.
4. Match and Install
We match plank width, exposure, and finish as closely as the original installation allows, install with corrosion-resistant fasteners appropriate for a coastal exposure, and reseal and flash every joint to current best practice — not just however the original installer left it.
5. Walkthrough
We show you what was done, why, and what (if anything) to keep an eye on going forward.
Keeping Repaired Siding From Failing Again in a Moss-Heavy Climate
A good repair should last. What happens after we leave matters too, especially with moss pressure as persistent as it is around Birch Bay. A few things worth doing on a regular basis:
- Rinse north- and west-facing walls (and anywhere shaded by trees or fences) once or twice a year to knock back early moss growth before it mats and holds moisture.
- Keep gutters clear so overflow isn't running down the wall face — a surprisingly common contributor to localized siding failure.
- Trim back vegetation that's shading a wall and keeping it from drying between rain events.
- Check caulk joints at trim and penetrations annually; catching a cracked joint early is a five-minute fix, not a repair call.
- Watch for soft spots or dark staining near grade, which usually means splash-back or drainage that needs correcting at the source.
Why It Matters That We Already Work in Birch Bay
Siding repair diagnosis is largely pattern recognition, and that pattern is regional. A crew that mostly works dry, inland jobs isn't going to walk onto a Birch Bay property already knowing that a stained north wall under a stand of trees is a moss-and-shade problem, or that a section near the water needs a harder look at fastener corrosion before anything else. We've worked enough of these coastal Whatcom County properties to know where the damage tends to start and what a Bellingham-area building department expects for flashing and moisture management details on a repair. That's the difference between a repair that gets ahead of the next storm season and one that just delays the next call.
Get an Honest Look at What Your Siding Actually Needs
If you're seeing staining, soft spots, moss buildup, or failing caulk on your Birch Bay home, it's worth getting an honest assessment before deciding between a patch repair and something more. We'll tell you plainly what we find, what's driving it, and what it'll actually take to fix — no upsell, no guesswork. Reach out for a free, no-pressure estimate using the form below.