 Bellingham Siding
 Building New in Barkley? Get the Windows Right Before the Siding Goes On
Barkley is one of the more active pockets of new construction in Bellingham, with infill homes, townhomes, and commercial buildouts going in alongside the established neighborhood. If you're building new here, the window installation is one of the few steps in the whole project that you truly cannot fix cheaply later. Once siding, trim, and interior finishes close in around a window opening, correcting a bad flashing detail means tearing back exterior finishes to get at it. That's a different order of cost than a callback on a replacement job.
This page is specifically about new-construction window installation — windows going into framed openings on a house or building that hasn't been finished yet, not windows being swapped into an existing wall. The two jobs use different products, different sequencing, and frankly different skill sets, and mixing them up is where a lot of avoidable problems start.
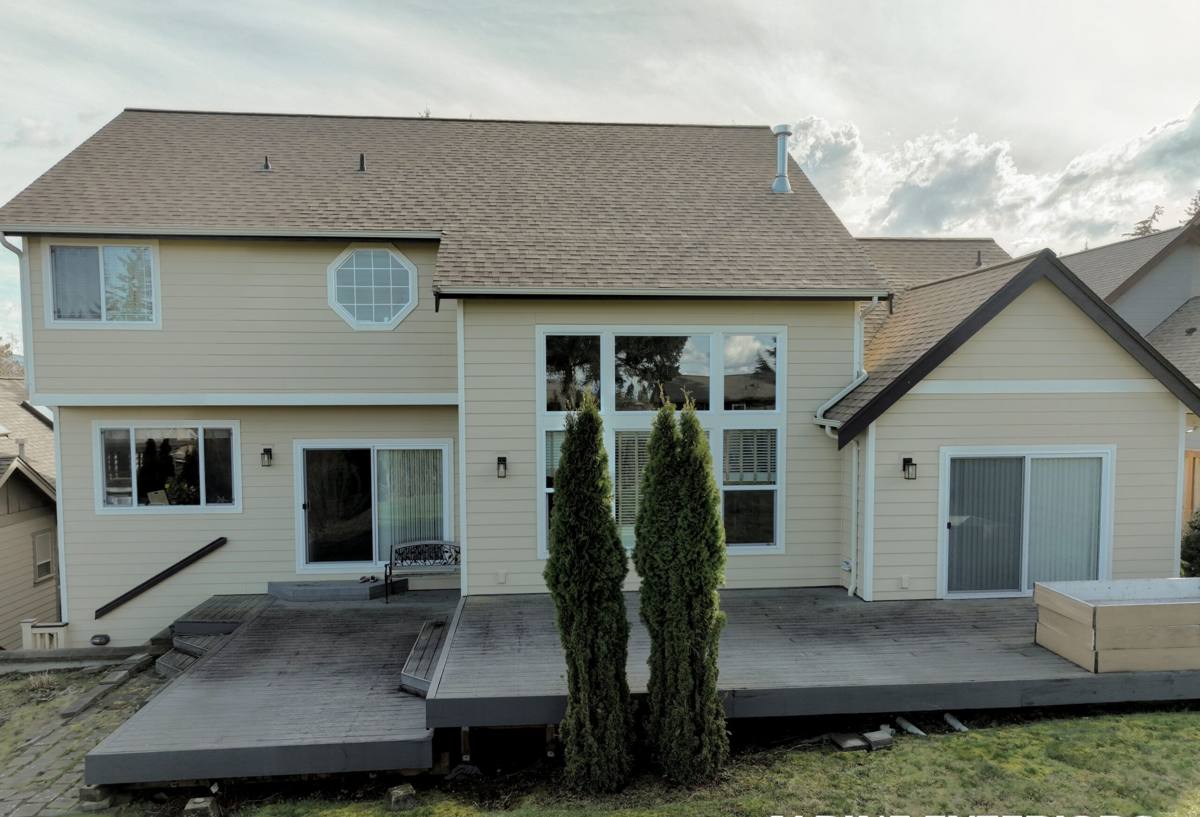
New-Construction Windows vs. Replacement Windows: Not the Same Job
A new-construction window has a nailing flange (sometimes called a nail fin) around the perimeter of the frame. That flange gets integrated directly with the weather-resistive barrier (house wrap) and flashing tape during framing, before siding goes on. A replacement window, by contrast, is typically a block-frame or pocket unit designed to slide into an existing opening with the old exterior trim and cladding left mostly in place.
Why the Flange Detail Matters
The nailing flange is what ties the window into the drainage plane of the whole wall assembly. Get the flashing sequence around that flange wrong — wrong lap order, missing sill pan, tape that doesn't bond in cold or damp conditions — and water finds its way behind the siding with nowhere to go. On a new build, this is a one-shot install. There's no old trim to hide a mistake behind, and no second chance once insulation and drywall are in.
We bring this up because homeowners and even some builders assume "installing a window" is one uniform skill. It isn't. A crew that's fast and competent at pocket-replacement work isn't automatically equipped for flange integration, sequencing with the WRB installer, and coordinating with the siding trade that follows. New-construction installation is closer to a flashing and waterproofing discipline than a carpentry finish task.
What Bellingham's Climate Actually Demands from a Window Install
Whatcom County sits right on the water, and that shapes what a window assembly needs to survive here, year after year, not just on install day.
Salt Air and Metal Fatigue
Proximity to Bellingham Bay and the Strait of Georgia means airborne salt is a real factor for exterior hardware, fasteners, and flashing metals. Untreated or mismatched metals corrode faster near the water than they would inland, and corroded flashing or fasteners around a window opening is a slow, hidden failure — you don't see it until water starts showing up on an interior sill or wall.
Driving Rain and Wind-Loading
Storms off the water bring wind-driven rain that hits window openings at an angle, not straight down. That's exactly the condition that exposes a shortcut in the flashing sequence — a sill pan that wasn't sloped to drain, a head flashing lap installed backward, or house wrap tucked the wrong direction. A window that looks fine in dry weather can leak the first time a real system rolls through.
Moss, Shade, and Sustained Moisture
Bellingham's long moss season isn't just a roof problem. Shaded elevations and areas with tree cover stay damp longer between dry stretches, which means any water that does get behind a window opening has more time to do damage before it evaporates out. Good drainage detailing at the window — not just a tight seal — is what keeps that moisture moving out instead of sitting in the wall cavity.
Temperature Swings and Seal Performance
Whatcom County isn't an extreme-temperature climate, but the daily and seasonal swings, combined with high humidity, put ongoing stress on sealants and glazing seals. Materials that flex and bond reliably in cool, damp conditions matter more here than they would in a drier inland climate.
Anatomy of a Correct New-Construction Window Install
There's a right order of operations for integrating a window into a new wall assembly, and skipping steps or doing them out of sequence is the single biggest cause of water intrusion claims in new construction.
- Rough opening check — verify the framed opening is square, plumb, and sized correctly before the window ever shows up on site.
- Sill pan flashing — a sloped, waterproof pan at the bottom of the opening so any water that gets past the window has a path to drain back out, not pool on the framing.
- Jamb and head flashing tape — applied in the correct shingle-lap order (bottom to top) so each layer sheds water onto the one below it, integrated with the house wrap.
- Window setting and shimming — the unit is set level, plumb, and square, shimmed at the correct load points so the frame doesn't rack or bind over time.
- Flange fastening — nailed or screwed per the manufacturer's fastening schedule, not just "enough to hold it."
- Head flashing and drip cap integration — final top flashing laps over the house wrap above the window so water is directed out and away.
- Interior air sealing and insulation — the gap between frame and rough opening gets sealed and insulated correctly, without over-packing foam that can bow the frame.
- Exterior sealant — a compatible, weather-rated sealant at the trim-to-siding interface, sized and tooled correctly rather than smeared on as an afterthought.
Every one of those steps is invisible once the siding and interior trim are on. That's exactly why it has to be done right the first time, and why a crew's process matters more than what brand of window is in the box.
Material and Glass Choices That Actually Hold Up in Whatcom County
We don't push one frame material as universally "best" — each has real trade-offs, and the right call often depends on the building's exposure, budget, and design. What we do insist on is being honest about those trade-offs up front.
| Frame Material | Moisture / Salt-Air Behavior | Maintenance | Typical Fit |
|---|---|---|---|
| Vinyl | Won't corrode or rot; performs well in damp, salt-air conditions | Low — no painting, occasional cleaning | Cost-conscious new builds, rentals, spec homes |
| Fiberglass | Very stable dimensionally; handles moisture and temperature swings with minimal expansion | Low to moderate | Higher-exposure elevations, larger units, long-term owners |
| Wood-clad (aluminum or fiberglass exterior) | Good if the exterior cladding and flashing are detailed correctly; the wood interior needs to stay dry | Moderate — clad exterior is low-maintenance, but any breach needs prompt attention | Custom builds where interior wood appearance matters |
| Aluminum | Conducts cold and can condense in our damp winters unless thermally broken | Low | Commercial or contemporary designs, usually with a thermal break spec |
On glass, we generally steer new-construction clients toward a low-E coating with an argon fill sized for our marine climate — good year-round performance without over-spending on a glass package built for a hotter, drier region. For west- and south-facing openings that get more weather exposure, we'll talk through whether a slightly heavier-duty glazing package is worth it for that specific elevation rather than upgrading the whole house by default.
Our Process for a Barkley New-Construction Job
Because we've worked new-construction sites in and around Barkley, we know how the trade sequencing typically runs and where window installation has to slot in cleanly with the framer, the house-wrap crew, and the siding installer.
Before the Windows Arrive
We walk the rough openings against the window schedule and building plans, checking sizes, orientation, and any special flashing needs (recessed openings, deep sills, unusual trim details) before ordering is finalized.
On Install Day
We coordinate directly with whoever installed the house wrap so laps and tape integration follow one continuous drainage plane — not a house-wrap crew doing their part and a window crew doing theirs with no communication between them. Each opening gets sill pan, jamb and head flashing, setting, and fastening in the sequence above, checked unit by unit rather than production-lined through.
Before Siding Closes It In
We do a walk-through of every opening — flashing laps, fastening, and sealant — before the siding crew starts covering it up. This is the last point where a mistake is cheap to fix, and it's a step that gets skipped more often than homeowners realize.
Mistakes We See on New-Construction Sites (and Avoid)
- Sill pans skipped or installed flat instead of sloped to drain
- Flashing tape applied top-to-bottom instead of bottom-to-top, reversing the shingle-lap that sheds water
- House wrap tucked behind the flange on the wrong side, trapping water instead of directing it out
- Fasteners driven through the flange at the wrong spacing or angle, distorting the frame
- Foam insulation over-packed at the jambs, bowing the frame and causing the sash to bind
- Exterior sealant used as a substitute for proper flashing instead of a secondary defense
- No pre-siding inspection, so flashing errors get buried and only surface as a leak years later
None of these are exotic failures — they're common, well-documented ways new-construction windows leak, and every one of them is preventable with a disciplined install sequence.
Why a Crew That Already Works Barkley Makes a Difference
New-construction window work depends on coordination with other trades on a schedule that's often moving fast. A crew that's already familiar with how builds in this part of Bellingham typically sequence — framing, house wrap, windows, siding — spends less time figuring out logistics and more time on the actual flashing work that protects the building. We're also working under the same Whatcom County conditions on every job, not adapting a process built for a drier climate somewhere else. That consistency is what keeps a new-construction window install from becoming a warranty call in year three.
A Quick Checklist Before Windows Get Closed In
Whether you're the homeowner, the builder, or the GC on a Barkley project, these are worth confirming before siding covers the openings for good:
- Sill pans installed and sloped to drain at every opening
- Flashing tape lapped bottom-to-top, fully adhered with no wrinkles or gaps
- House wrap integration confirmed with whoever installed the WRB
- Windows set level, plumb, square, and shimmed at proper load points
- Fastening schedule followed per the window manufacturer's instructions
- Interior gaps insulated without over-packing or bowing the frame
- A walk-through completed and documented before siding starts
If you're planning a new build or addition in Barkley and want windows installed by a crew that treats the flashing detail as seriously as the finish look, we're happy to walk your plans and rough openings with you. Reach out for a free, no-pressure estimate using the form below.